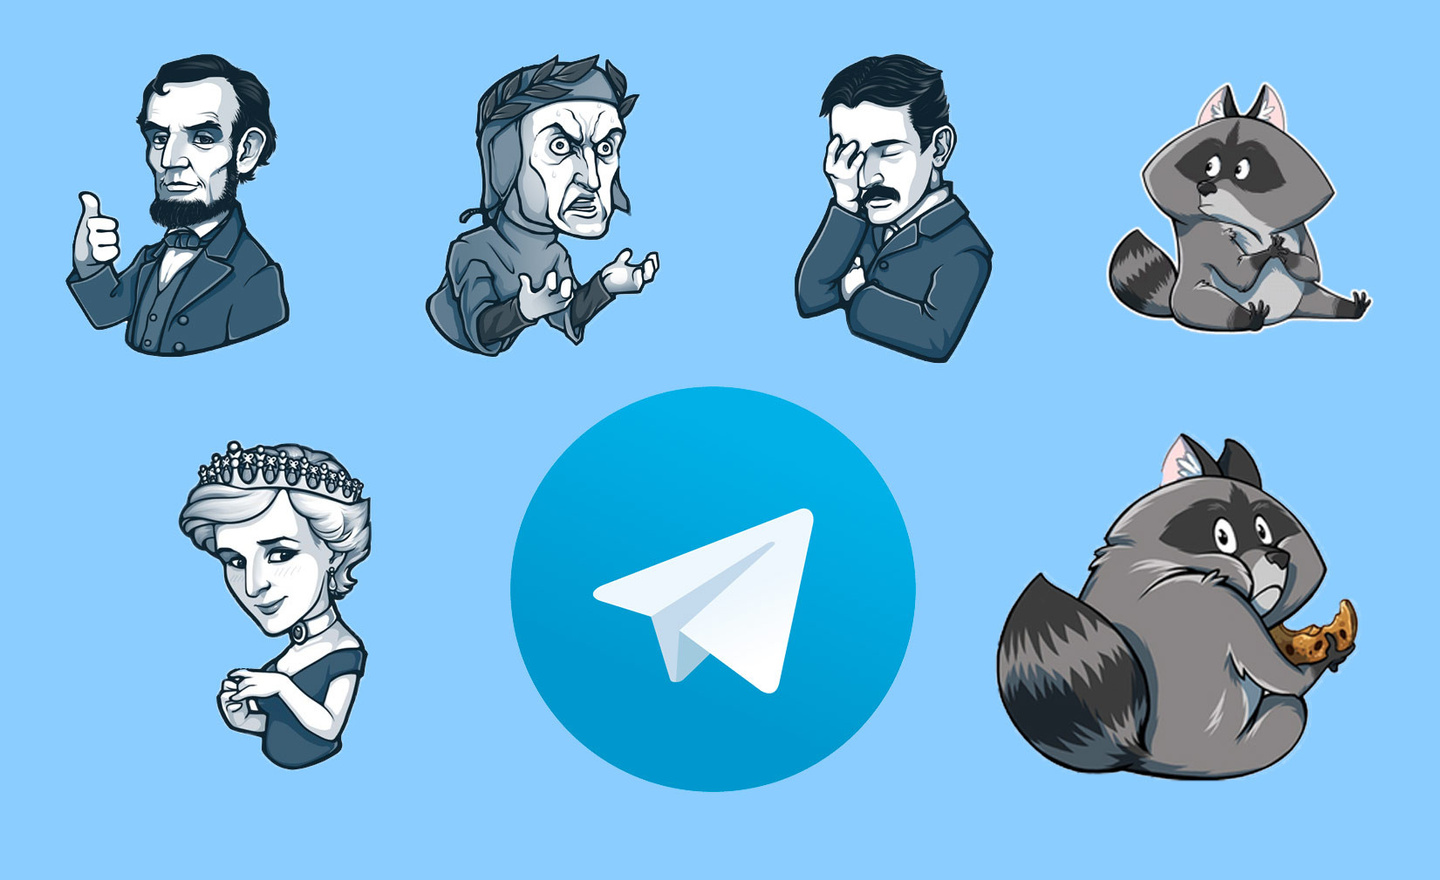
Creating telegram stickers is easy and fun! With a few simple steps you can get your own unique stickers to share with friends and family. Here are step-by-step instructions on how to create telegram stickers.
Launching the bot
The first step is to launch a bot to create stickers. This bot has a few basic commands that will help you create the perfect set of stickers for your needs. To launch the bot, open the Telegram app and search for @stickers. Once you find it, select it and then click start. This will launch the sticker bot, which will help you create your sticker pack.
Basic commands
Once you start the sticker bot, there are a few basic commands that you need to know in order to start creating your sticker packet. The most important command is "/newpack," which will allow you to create a new stickerpack with its own name and username so that others can add it as well as view it in their conversations. Other useful commands include "/addsticker," which lets you add an existing image or gif as a sticker; "/editsticker," which lets you edit an existing sticker; and "/delsticker," which lets you remove an unused or unwanted sticker from the package; "/publish," which makes the package available to everyone; and finally, "/cancel," which undoes any changes made since opening the bot session.
Creating a sticker packet
Now that we have gone through some of the basics of working with our stickerbot, let's start creating our own unique stickers! To do this, we must first use the /newpack command and then enter the desired name of our new sticker pack, such as "my cool custom stickers". After selecting that name, we have to choose an emoji or smiley, using either one of them from the keyboard (if available) or by searching online for the keywords "emoji" or "smilies". Once we have chosen the emoticon we want, we can press Enter or confirm the choice depending on the device we are using and then use the command /addsticker followed by the url of the image (if not yet uploaded) or the file attachment (if already uploaded). We can also repeat this process until all the desired images have been added to our new sticker package!
Uploading the stickers
Now that all of your images have been successfully added to the package we just created, let's upload them to Telegram so they can be used in conversations! To do this, just go back to the main chat window where all of your chats are listed and select one of them, and then two options will appear, one of which is to add a sticker pack. Once selected, enter the name that was given when you created the new packs (for example, my cool custom sticker pack), and then all uploaded images will appear in the specified chat, and users can use them in each other's messages!
Snap a smiley
Now, before saving the changes made, let's link the selected emoji to the recently created custom packs so that users looking for specific emoji in their chats can also find the pack containing the corresponding images on the same results page - to do this just go back to the main chat window again, where when selecting add sticker pack enter again the same name specified when creating packs above and then the selected emoji enclosed in brackets [ ], if done successfully you should see the message "successfully bound!"
Saving the package
Now that everything is set up correctly, let's save the packages we created so that they remain available even after closing the application - to do this simply go back to the main chat window, where by selecting the add sticker pack option, re-enter the same name as when creating the packages, follow the steps until you get to the last step, after pressing the confirmation button located in the lower right corner, a "your package was saved" should appear, indicating that the saving process was successful, allowing users to access the package
How to manage a package
For those who want to continue managing the packages created, such as deleting certain images, etc... This can be done through the main chat window by selecting the add sticky package option, again enter the name given when creating packages above, follow the steps above until you get to the last step by clicking on the package edit icon located in the top left corner, on the page containing additional options such as editing the current content within the package, deleting the entire package, etc.. This way, users can manage their previously created custom packages!
Conclusion
Creating custom stickers for Telegram couldn't be easier than following these simple instructions! It only takes a few minutes to start creating unique designs based on the user's desires and preferences, allowing them to easily make conversations more fun and engaging, adding an extra level and depth of interaction between friends and family, making communication enjoyable!


